This is the story—and the step-by-step guide—of how I smoked a 24-pound whole packer brisket for Thanksgiving on a brand-new Traeger Woodridge Pro.
Note: This post contains affiliate links. As an Amazon Associate, I earn from qualifying purchases at no extra cost to you.
I bought the brisket from Costco on Monday. By the time I got there, the only briskets left were in the 23–24 lb range, so this was not a gentle “starter brisket.” It was a full-sized commitment.
The smoker itself had just been delivered by Texas Star Grill Shop the day before Thanksgiving. New smoker, enormous brisket, holiday deadline. What could go wrong?
For pellets, I used the Traeger Signature Blend pellets, which give a balanced mix of hickory, cherry, and maple—perfect for a big holiday brisket where you want smoke flavor without turning it into a campfire log.
It turned out well—about an 8 out of 10—but I learned a lot along the way. This write-up walks through exactly what I did, what I’d repeat, and what I’d change. Keep in mind that I had an older Traeger for about 7 years – much smaller and less advanced – smoking about 2–3 briskets a year and then using the smoker for all other types of food during that time. I probably should have cleaned it better because it started cutting off heat randomly. For the last year or so, I only used it once – last Thanksgiving to smoke a brisket. But, having to wake up once an hour or two to check on it was a pain the arse and I was not doing that again. Hence, it was time for an upgrade. Man, was it!
Tuesday Night — Trimming, Seasoning, and Dry Brining
I started on Tuesday night by trimming the brisket. I used a new cherry butcher block similar to a TinRoof board (20″ × 14″ × 2″, routed handles) and a Dexter 360 six-inch flexible boning knife. I also like using nitrile gloves when trimming; it keeps things a lot less messy.
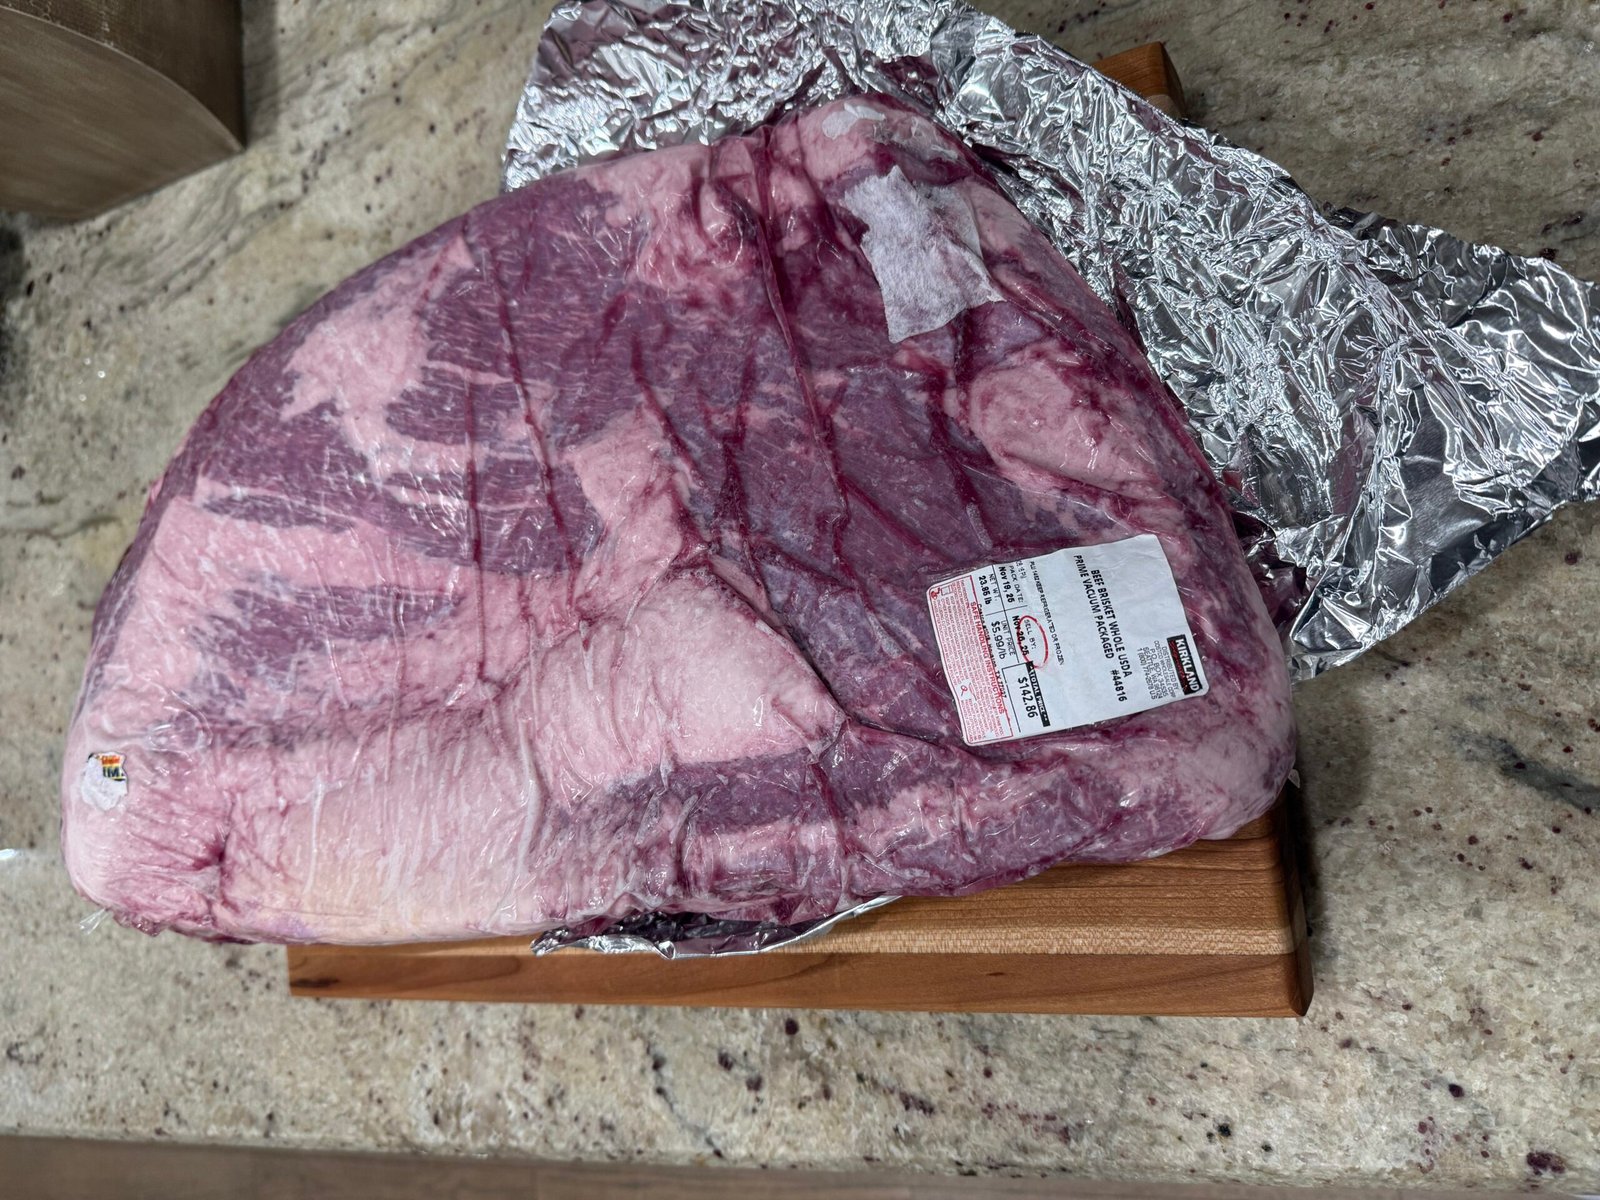
The board was beautiful…but too small. A 24 lb brisket hung over one end. It worked, but barely.
Seasoning
I used a two-layer rub:
- Base layer: Traeger Rub
- Top layer: H-E-B Texas Originals Blackened Seasoning
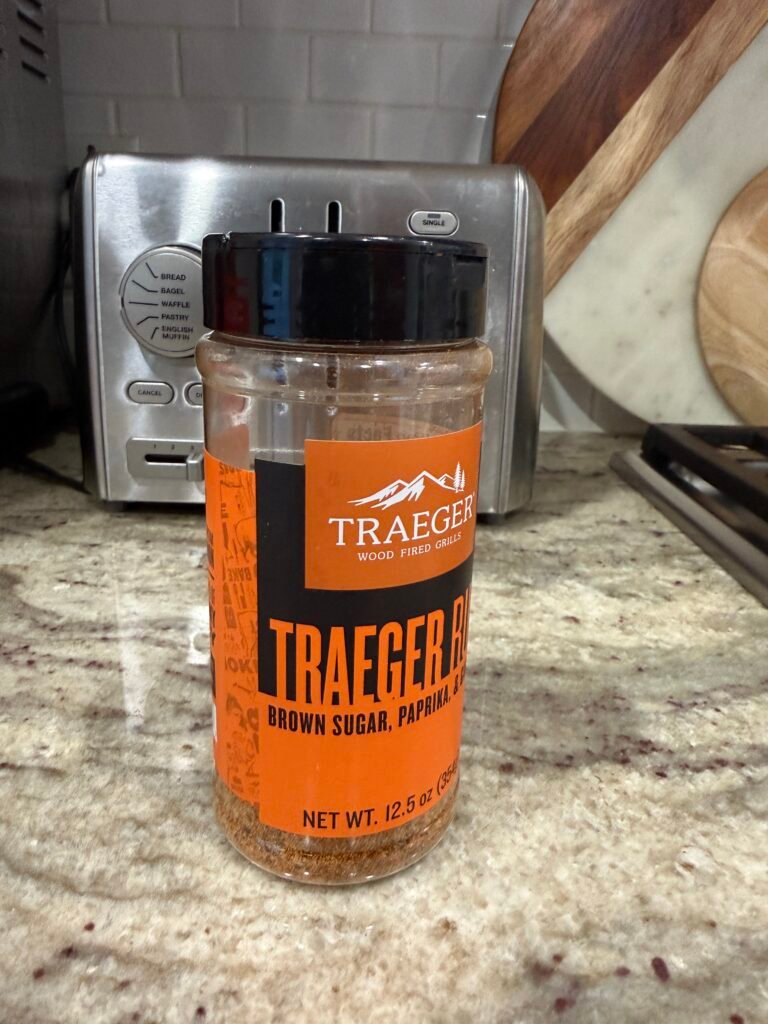
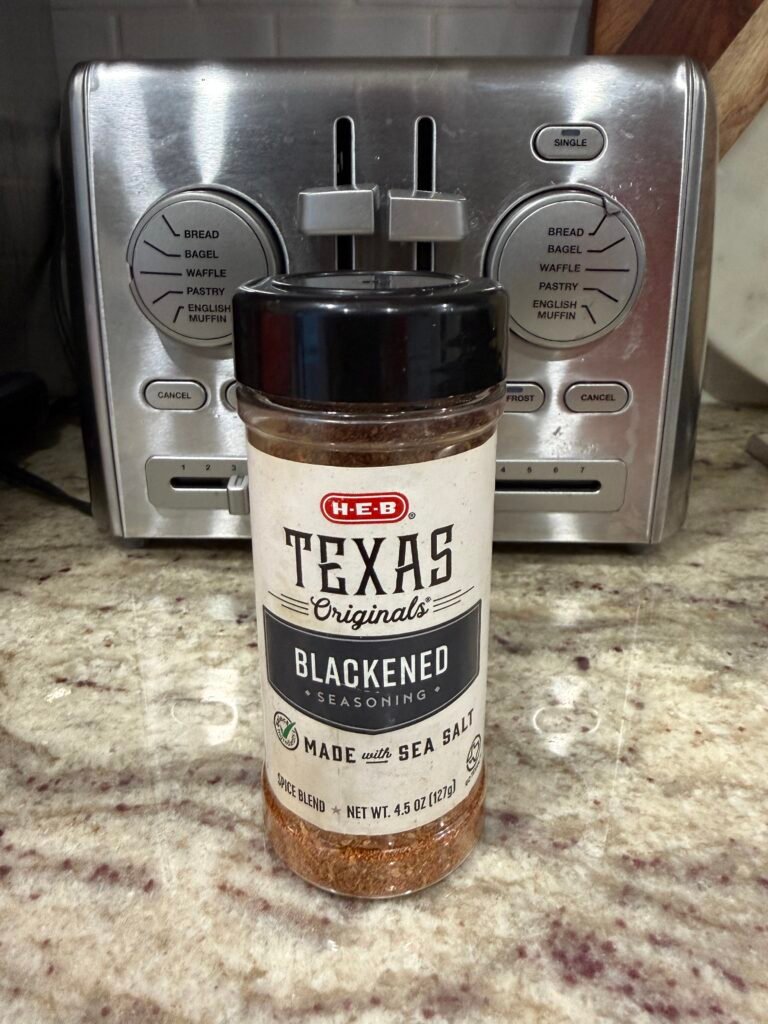
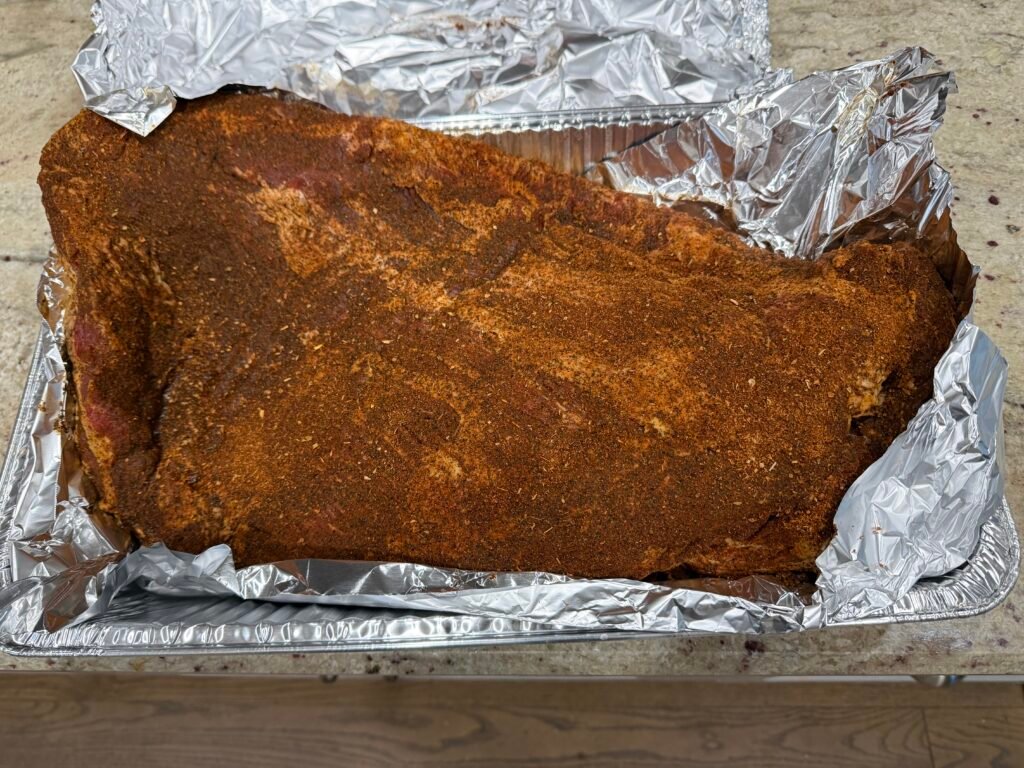
This combination gave me sweetness, paprika, and bold pepper heat, and it set me up for a dark, flavorful bark.
Overnight Rest (Uncovered)
Once seasoned, I put the brisket uncovered in the refrigerator overnight. I briefly went back and forth on whether to cover it with foil, but ultimately decided to let the surface dry out to help build bark. If you prefer wrapping, heavy-duty foil like this is the way to go.
That was the right decision.
Wednesday — New Smoker Day, Burn-In, and App Setup
The Traeger Woodridge Pro was delivered early by Texas Star Grill Shop, which turned out to be a big help. I wanted to get everything done while I still had daylight. Props to TSGS for the quick turnaround, delivery and assembly.
Burn-In
I ran the recommended burn-in sequence:
- 350°F for 15 minutes
- 500°F for 45 minutes
That cleared out the manufacturing residue and seasons the inside of the smoker or so Traeger told me. I didn’t really smell anything and no one got sick. So, I assume Traeger was correct.
Traeger App + WiFi
After burn-in, I:
- downloaded the Traeger app
- connected the grill to WiFi
- synced the controller with the app
Important note: the grill wants 2.4 GHz WiFi, not 5 GHz. Once on the 2.4 GHz band, setup was quick.
Rack Choice — Top vs. Bottom
I had a decision to make: top rack or bottom rack.
The brisket was so big that on the top rack it risked touching the lid and choking off airflow. So I went with the bottom rack, fat side up.
Looking back, I should have done one more thing:
I should have removed the top rack completely before I started.
I left it in, and later, when I tried to mop and maneuver around, that top rack got in the way. It was too hot to move.
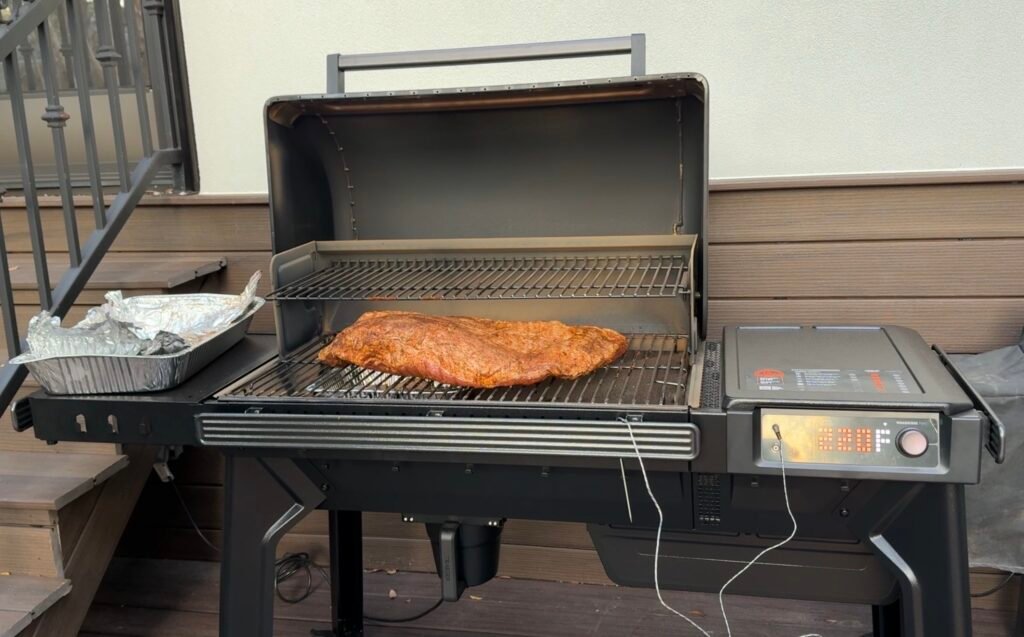
Wednesday Evening — Brisket Goes On (5:12 PM)
I put the brisket on the smoker at 5:12 PM. That gave me time with daylight to position everything and a full overnight window.
Setup
- Temperature: 225°F
- Mode: Super Smoke
- Placement: Bottom rack, fat side up
- Underneath: ONE aluminum pan with soft fat trimmings under the point (similar to these heavy-duty disposable pans)
I placed the pan under the point to catch drippings. This felt smart at the time. It wasn’t.
Probes and the 50-Degree Problem
I used:
- The Traeger wired probe in the flat. This probe came with the machine.
- A MEATER probe from the MEATER Block (4-probe) in the point. I had purchased a set of 4 last year and they are awesome. It is a cheat code to most grilling activities.
Early on, I noticed a huge split:
- The flat was reading around 100°F
- The point was reading around 50°F
At first, I assumed the MEATER wasn’t fully inserted, so I pushed it in deeper. But even after adjusting, the gap never really closed. Throughout most of the cook, there was about a 50°F difference between the flat and the point.
Later, it was simply too hot to safely move the MEATER again.
I confirmed the difference with an instant-read thermometer (ThermoPro TP19H) in multiple spots. The point really was that much cooler.
A major culprit: heat blocked by the pan sitting directly under the point. In retrospect, I should have put it under the flat. Duh!
The Pan Mistake — Blocking Heat to the Point
My pan placement—directly under the point—meant that rising heat was partially deflected. The flat received more direct heat; the point lagged behind.
That’s why:
- the flat climbed faster
- the point stayed stubbornly behind
- the temp difference never fully closed except towards the end
Next time, I don’t know if I would use a pan at all. I think if you are the type of person who would actually capture the beef tallow and use it, then it is worth it. I did not do jack with the tallow afterwards and it made the smoking process harder.
Mopping — Beer and Apple Cider Vinegar
I mopped twice:
- Around 11:00 PM
- Around midnight
My mop mix:
- Pinter Razz Session beer
- Apple cider vinegar
The flavor and aroma were excellent. The blackened seasoning held up, and the bark didn’t wash off. The beer was homemade (kind of) using Pinter. I’ll blog on that later, but that beer turned out fantastically. So much so that I am brewing another batch now.
The top rack, however, made this more awkward than it had to be. Another vote for removing it before starting.
Thursday Morning — Wrapping Time and Butcher Paper Chaos
By Thursday morning, the brisket was deep into the stall. The flat was significantly ahead of the point, but at a certain stage, the decision to wrap is more about bark than temperature.
I wrapped once:
- the bark was dark
- the surface was dry and firm
- the rub had set and wasn’t coming off when touched
Butcher Paper Situation
This part was messy.
I brought outside:
- Two pieces of butcher paper similar to this food-grade roll, each about 3.5 feet long
- Realized I needed more
- Went back in and grabbed a third piece about six feet long
Wrapping with one 6-foot piece and two shorter ones worked, but it was awkward and inefficient. Next time, I’ll pre-cut two equal six-foot sheets and call it a day. Plus, I will get a much smaller brisket.
Finishing the Cook — Flat vs. Point
After wrapping, I bumped the temperature to 250°F to help push through the stall and finish in a reasonable window for Thanksgiving.
Eventually, I ended up with:
- Flat: around 208°F
- Point: stuck in the upper 170s to low 180s°F
Under ideal conditions, I’d want the point closer to 195–203°F, but the combination of:
- The pan blocking heat
- The massive size of the brisket
- The holiday schedule
…meant I had to make a judgment call.
The flat was probe-tender and the bark was where I wanted it, so I pulled the brisket around 10:45 AM.
Resting — 7 Hours and 30 Minutes
Once off the smoker, I:
- left it wrapped in butcher paper
- added an outer layer of plastic wrap similar to this and placed it in an aluminum pan
- put it into a turned-off oven and let it rest
Total rest time: about 7 hours and 30 minutes.
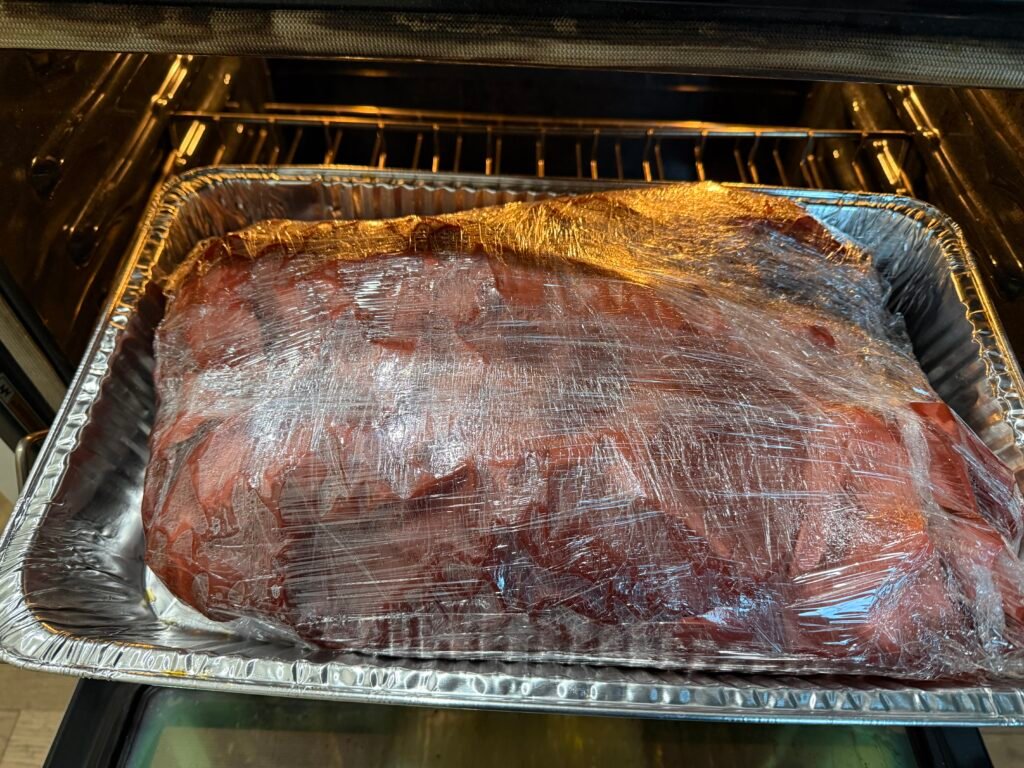
Giant briskets benefit tremendously from a long rest. The internal temperature evens out and the juices redistribute.
This one was no exception.
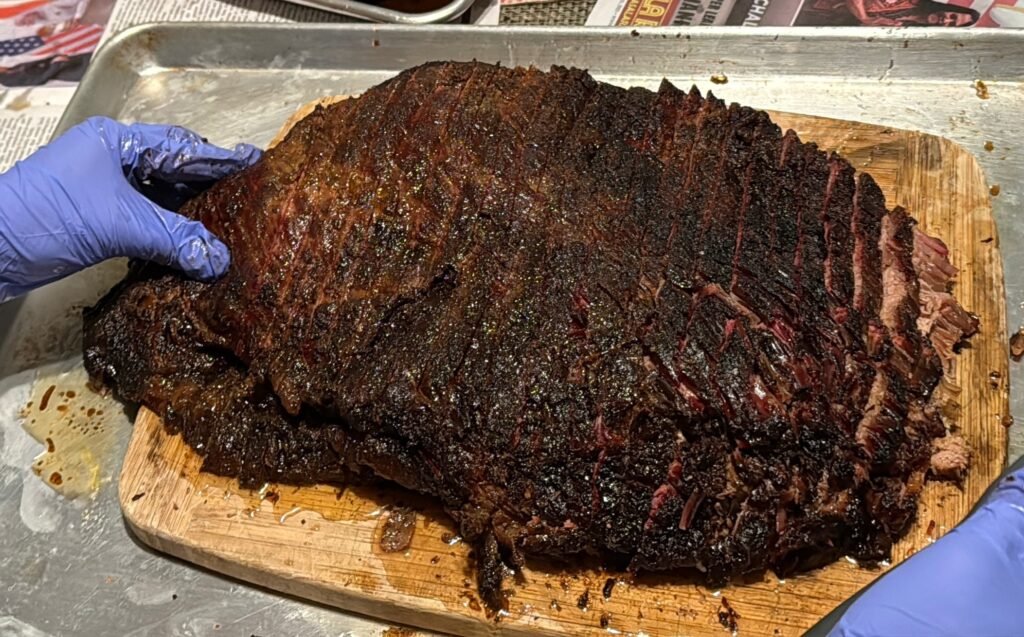
Slicing and Final Results
When it came time to slice, the brisket delivered a strong overall result.
Point (the fattier half)
- Juicy
- Rich
- Tender
- Full of flavor
Flat (the leaner half)
- Mostly moist and tender
- A small section at the edge was dry
- One portion was tender but not particularly juicy
- Several people actually preferred the leaner, slightly drier slices
Smoke Ring and Bark
- Smoke ring: Excellent—deep and clearly defined
- Bark: Dark, well-developed, and flavorful
Overall Score
Taking everything into account—size, new smoker, pan mistake, temp split, and time constraint—I’d rate this brisket about an:
8 out of 10.
It was a success with room for improvement, which is exactly what I’d want from a first major cook on a new smoker.
Lessons Learned
If I had to boil the whole experience down into lessons for next time (and for anyone else attempting something similar):
- Don’t start with a 24-pound brisket on a brand-new smoker if you have smaller options. I had no choice at Costco, but smaller is easier.
- Remove the top rack before you start. You’ll want the space for access, mopping, and wrapping. But, if you are smoking a smaller brisket, there is a plenty of room on the top rack to smoke and you are placing the meat even further away from the direct heat.
- Don’t place a pan directly under the point. Offset it to avoid blocking heat or put it under the flat.
- Expect a temperature split between flat and point on a large brisket—but a 50-degree gap is a sign something in the setup is off.
- Pre-cut butcher paper: two six-foot sheets.
- Long rests are your friend. 7+ hours turned what could have been a frustrating cook into a very solid result.
- The Traeger Woodridge Pro really is “set it and forget it”. The Traeger held temperature and made the overnight portion far less stressful than a wood burner or even my old Traeger. This smoker truly shined in comparison to what I had been using from the larger size to the larger hopper to the app monitor. It was fantastic. I can’t wait to use it again this weekend.
Gear I Used for This Cook
If you want to try something similar, here’s the core gear that made this cook a lot easier. These are affiliate links, which means I may earn a commission if you purchase through them—at no extra cost to you.
- Smoker: Traeger Woodridge Pro
- Pellets: Traeger Signature Blend pellets
- Brisket board: Cherry butcher block similar to TinRoof
- Boning knife: Dexter 360 six-inch flexible boning knife
- Wireless probes: MEATER Block (4-probe)
- Instant-read thermometer: ThermoPro TP19H
- Butcher paper: Food-grade pink butcher paper roll
- Aluminum pans: Heavy-duty disposable aluminum pans
- Plastic wrap: Commercial-style plastic wrap
- Foil: Heavy-duty aluminum foil
- Gloves: Nitrile BBQ/food prep gloves